 British Pound
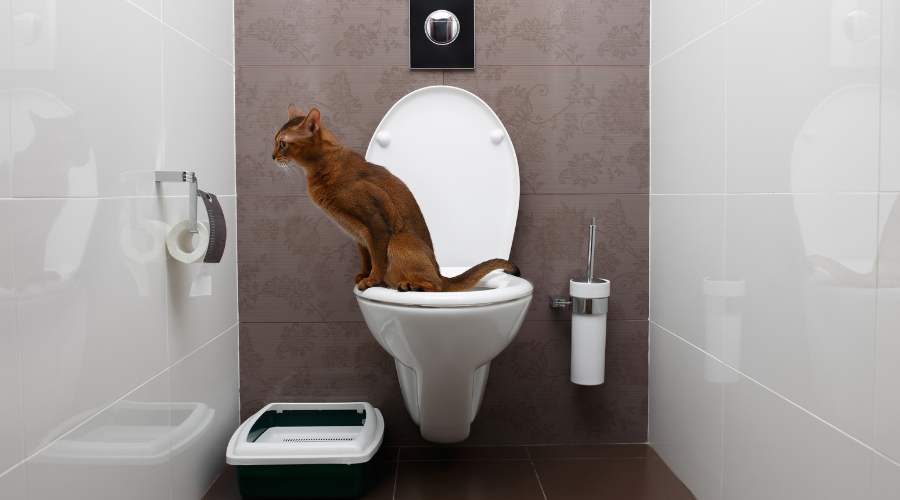
DIY Tips for training your cat to use the Loo

We have all at some stage witnessed a cat doing something completely bizarre. They are strange creatures, so why not have your kitty use the loo. The flushing bit would be impressive but we will start with the basics. I’m hoping my cat is a natural because she is in the bathroom daily. She adores having a drink straight out the tap while you brushing your teeth or washing hands. She jumps on the toilet so we keep the seat down, worried she might fall in. She also enjoys a steam bath on the odd occasion. We are now 3 weeks into what I call poop potty training. I’m hoping it makes sense in the long run. It will be far more hygienic for the household in general. I’m looking forward to saving money and time. It could come in as handy trick, making life easier when traveling with your cat. Here what I’ve found out so far.
What you will need
Ideally you would need 2 bathrooms, decide which one you will be using for the training period. If you only have one loo in the house, you will need to be flexible. Don’t loss encouragement; work out a system that is stress free.
DIY KIT
Tape
2 X Aluminum foil trays
1 X Larger plastic tray than the aluminum tray
Flush-able cat litter
Buckets of patience
Steps
You need to go through the process at your kitty’s pace. It will totally defeat the purpose if your cat feels stressed out or has a negative experience like falling in the loo! Give or take, expect 6-8 weeks for a toilet trained cat.
- The aluminum foil trays need to be the right size to fit in between the toilet bowl and the toilet seat. Fit the aluminum trays into each other. Fill the aluminum tray with flush-able cat litter (try Better Way from Amazon), place the bigger plastic tray beneath to catch the inevitable flying litter. The new aluminum litter tray goes next to the toilet on the floor. Show kitty and wait at least a few days until he or she is happily using their new litter box.
- Raise the litter box by placing it on a box or similar so that it is the same height as the loo. The bonus here is flushing the litter daily as it is conveniently placed next to the toilet.
- Eventually you will cut a circular 1” diameter hole into the center of the aluminum foil trays and place it in between the toilet bowl and seat, tape it down around the edges to make sure it’s secure. We use 2 aluminum trays to add a little more support. Keep the box next to the toilet, so kitty can simply step in to the ‘litter box toilet’. Watch how kitty responds, first with 2 paws in the litter box and then slowly balancing on the seat while watching with fascination as his or her flush able litter disappear into the loo. Priceless! This is the stage we are in, week 3.
- Make the hole in the aluminum trays slightly bigger every 3 - 4 days. Keep using the flush-able litter. If kitty is throwing litter out onto the bathroom floor slow down the process. We have had to replace the aluminum trays weekly so far. There have been poops discovered on the floor. When I clean them up I show my baby that I'm flushing it away. She is starting to cotton on.
Eventually hopefully your cat will happily be balancing on the toilet seat for their no flush- no fuss business. Make sure the toilet seat cover is always up to avoid mishaps or confusion.
It does seem quite possible to achieve. It is not suitable for some beloved felines. If your cat is elderly or particularly heavy and can’t jump comfortably it will end up being extremely stressful for them. Similarly if your kitten is 6 months old or younger they may just bail right into the toilet, scarring them for life. For a home with more than one cat this would not be ideal. When it comes to cats doing their business caring is not sharing.
